February 11, 2022 in #coding
📊 google analytics with next.js
As I migrated this site to Next.js, I upgraded Google Analytics from Universal Analytics to Google Analytics 4. Along the way, the resources I found for handling this upgrade were a little outdated. So here's my take on how to integrate Google Analytics 4 with Next.js.
🏡 create a property
First, go to your Google Analytics dashboard and click on the Admin cog in the bottom left. From there, click the blue Create Property button. By default, this will create a Google Analytics 4 property. Then answer a few more questions about your business, and click Create.
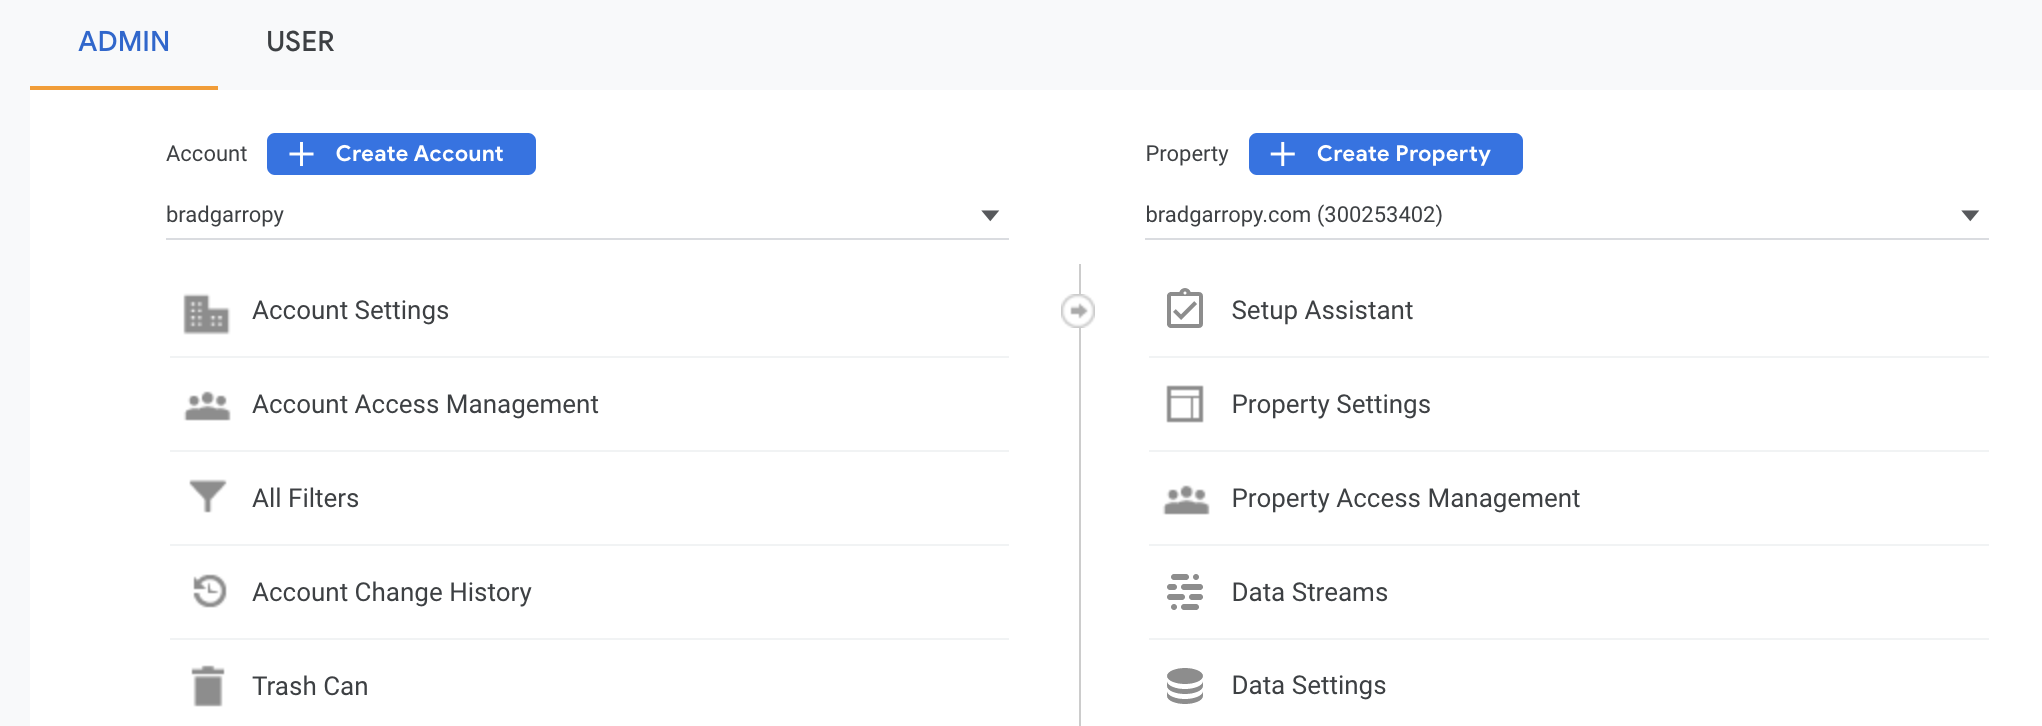
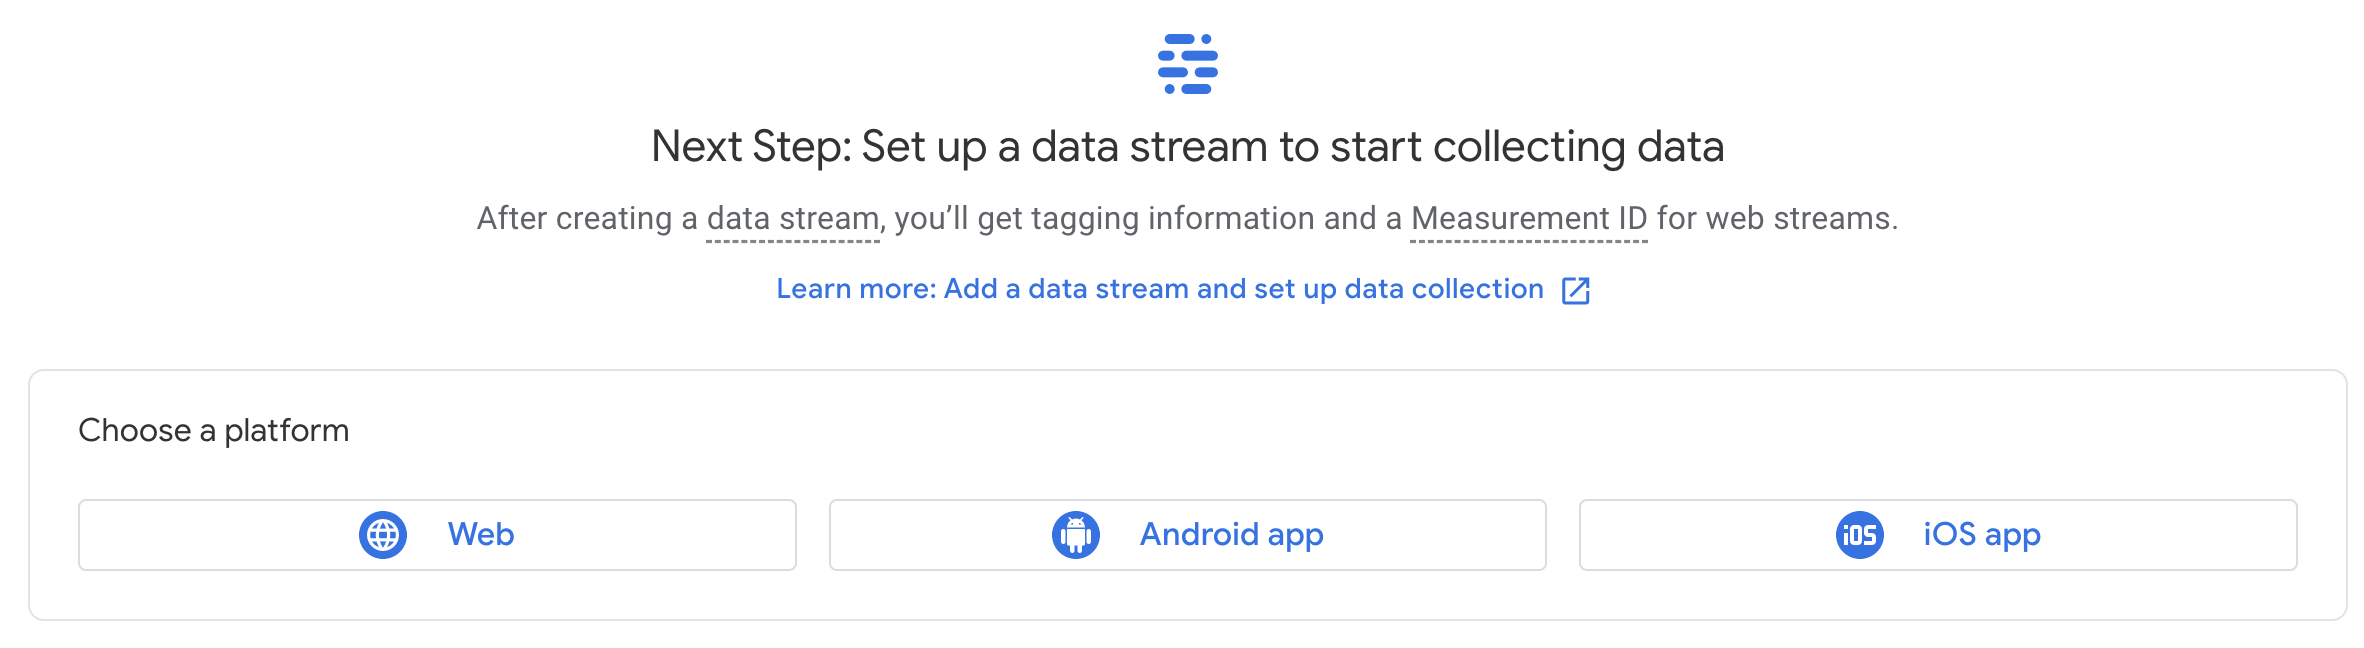
Next you'll be asked to set up a data stream on which to collect analytics information. We'll be using the Web platform.
Then fill in the the information they ask about your website and give your stream a name. Then you can click Create Stream.
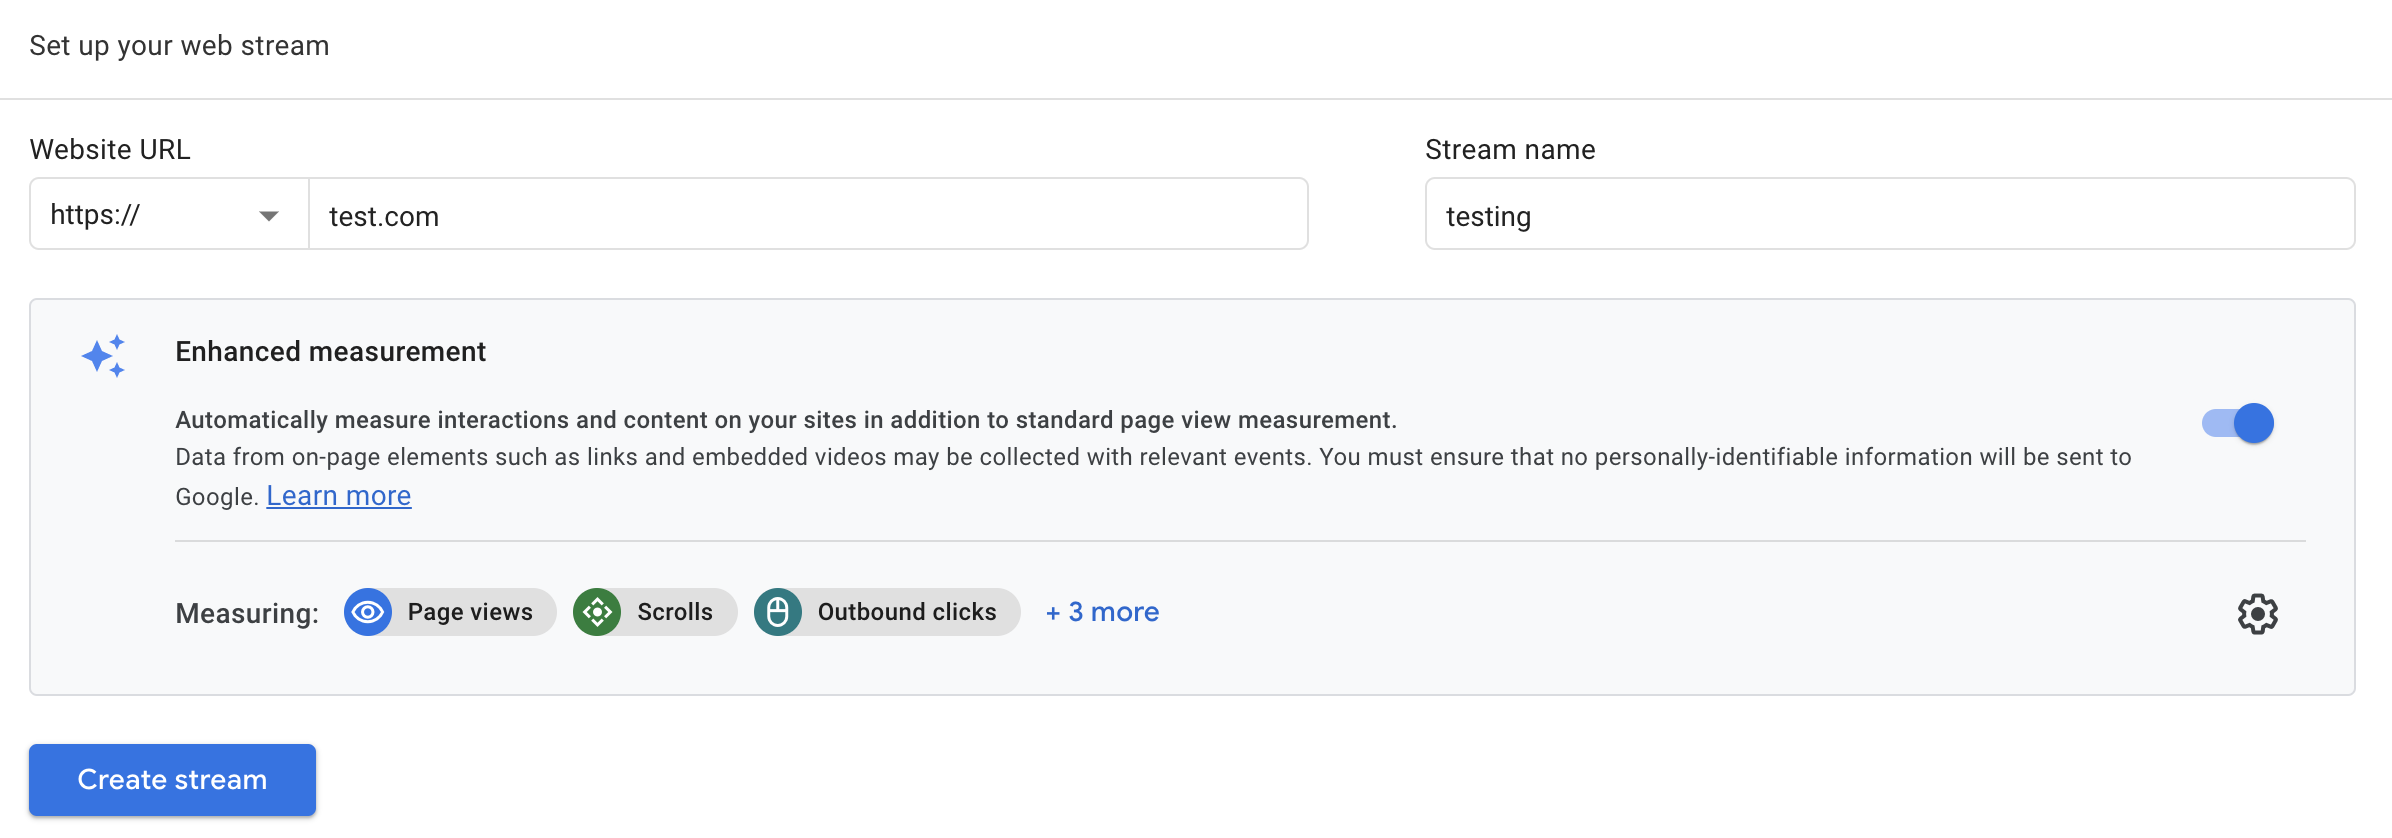
Now you'll be presented with your Measurement ID. Copy this value, as we'll be using it to initialize the gtag script on your site.

📜 initialize the script
Now that you have your Measurement ID, I suggest placing it in an environment variable. While the Measurement ID is publicly viewable in the browser, I find that abstracting it one layer can discourage abuse. I use Vercel for hosting, and they have some nice documentation on how to set environment variables.
Initializing Google Analytics on your site is a two step process. First you'll have to download a script, then execute an initialization function. We can leverage the Next.js <Script> component for both steps.
First, download the gtag module by placing a <Script> component in your custom _app.js file. This should use the afterInteractive strategy so it does not increase the initial page load time.
<Script
    strategy="afterInteractive"
    src={`https://www.googletagmanager.com/gtag/js?id=${measurementId}`}
/>
Then use another <Script> component to initialize the dataLayer and connect it to your measurementId. Again, this will use the afterInteractive strategy to avoid increasing page load time.
<Script id="google-analytics" strategy="afterInteractive">
    {`
        window.dataLayer = window.dataLayer || [];
        function gtag(){dataLayer.push(arguments);}
        gtag('js', new Date());
        gtag('config', '${measurementId}');
    `}
</Script>
That's it! Most other articles I read included other steps, like responding to route changes, but Google Analytics 4 does not need that in Next.js applications.
✅ confirming it works
To ensure that everything is running properly, you can check a few things. First, the Network tab should include a request to retrieve the gtag script with the following url.
https://www.googletagmanager.com/gtag/js?id=<measurement-id>Next, go to the Console and check for the window.dataLayer object. It should be an array where one of the entries contains your measurementId.
Finally, change routes inside of your application, then double check the window.dataLayer object. You should see additional gtm.historyChange events being added to the array.
📦 custom package
If you're like me, and you never want to think about setting this up again, you can use the @bradgarropy/next-google-analytics package I made specifically for Next.js! It simplifies the configuration into a component that accepts your measurementId.
<GoogleAnalytics measurementId="G-XXXXXXXXXX" />